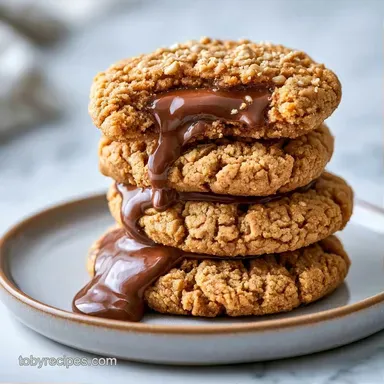
Chewy Chocolate PB Cookies with Natural Peanut Butter
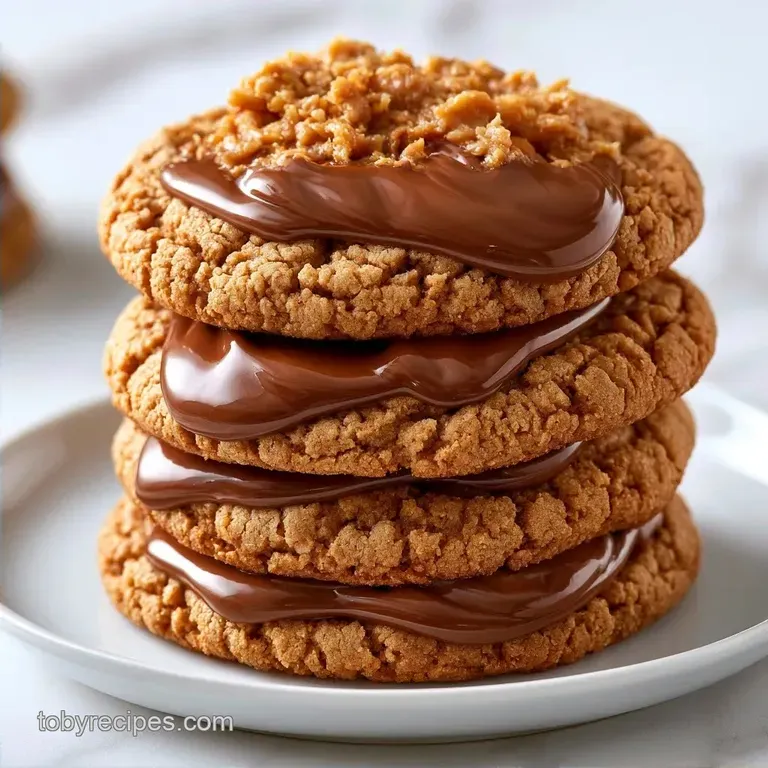
- Time: 15 min active + 10 min bake
- Flavor/Texture Hook: Rich cocoa with a soft, bendable center
- Perfect for: Late night cravings or a budget-friendly dessert
Why Chewy Chocolate PB Cookies Work
I used to have a problem where my peanut butter cookies would either turn into hard little rocks or spread into one giant, thin pancake that covered the entire baking sheet. It was frustrating, especially when I was craving that specific, soft texture you get from a high end bakery.
I realized the issue was usually the butter temperature or using too much white sugar, which makes cookies crisp instead of chewy.
The fix was simplifying the fat source and leaning on brown sugar. By mixing softened butter with natural peanut butter, you get a stable base that doesn't collapse in the oven. These Chewy Chocolate PB Cookies stay thick and tender because the peanut butter acts as a stabilizer, holding the structure together while the sugars keep things moist.
You can expect a cookie that smells like a melted candy bar the second it hits the heat. They have a deep, dark color thanks to the cocoa and a richness that doesn't require expensive ingredients. It's a straightforward process that delivers a heavy, satisfying cookie without any fancy equipment.
Recipe Specs
Plain label: Brown Sugar: The molasses in brown sugar attracts moisture, which stops the cookies from drying out. Plain label: Dutch Cocoa: This treated cocoa is less acidic and gives the dough a darker, more intense color.
| Method | Time | Texture | Best For |
|---|---|---|---|
| Sheet Pan | 10 min | Evenly chewy | Large batches |
| Cast Iron | 12 min | Crispy edges, soft middle | Small groups |
If you're trying to decide on the finish, here is a quick guide: - If you want them fudgier, bake for exactly 9 minutes. - If you want a bit more snap, go for 11 minutes. - If you want a deeper flavor, add a pinch of espresso powder.
The Ingredients List
| Ingredient | What It Does | Best Swap |
|---|---|---|
| Unsalted Butter | Adds richness and spread | Coconut oil (solid) - slightly nuttier |
| Brown Sugar | Creates the chewy texture | Coconut sugar - a bit grainier |
| Natural PB | Provides structure and salt | Almond butter - milder, more floral |
| Dutch process Cocoa | Gives a dark chocolate base | Unsweetened cocoa - more acidic, slightly lighter |
- 1/2 cup (113g) unsalted butter, softened Why this? Soft butter creams better with sugar for a lift
- 3/4 cup (150g) packed light brown sugar Why this? Molasses content ensures a soft chew
- 1/2 cup (125g) creamy natural peanut butter Why this? Natural oils prevent a cakey crumb
- 1 large egg, room temperature Why this? Binds ingredients and adds moisture
- 1 tsp (5ml) pure vanilla extract Why this? Rounds out the bitterness of the cocoa
- 1 1/4 cups (155g) all purpose flour Why this? Provides the necessary structure
- 1/3 cup (30g) Dutch process cocoa powder Why this? Deep color and smooth flavor
- 1 tsp (5g) baking soda Why this? Helps them rise and brown
- 1/2 tsp (3g) sea salt Why this? Cuts through the sugar and richness
- 1 cup (170g) semi sweet chocolate chips Why this? Adds pockets of melted chocolate
Tools You'll Need
You don't need a professional kitchen for this. A basic hand mixer or even a sturdy whisk and some elbow grease will work. I prefer a stand mixer such as KitchenAid for the creaming stage, but it's not mandatory.
Grab a couple of baking sheets and some parchment paper. Trust me, don't skip the parchment. Greasing the pan with butter often leads to uneven browning on the bottom. You'll also want a spatula for folding in the chips and a tablespoon or cookie scoop for consistent sizing.
Steps to Bake Them
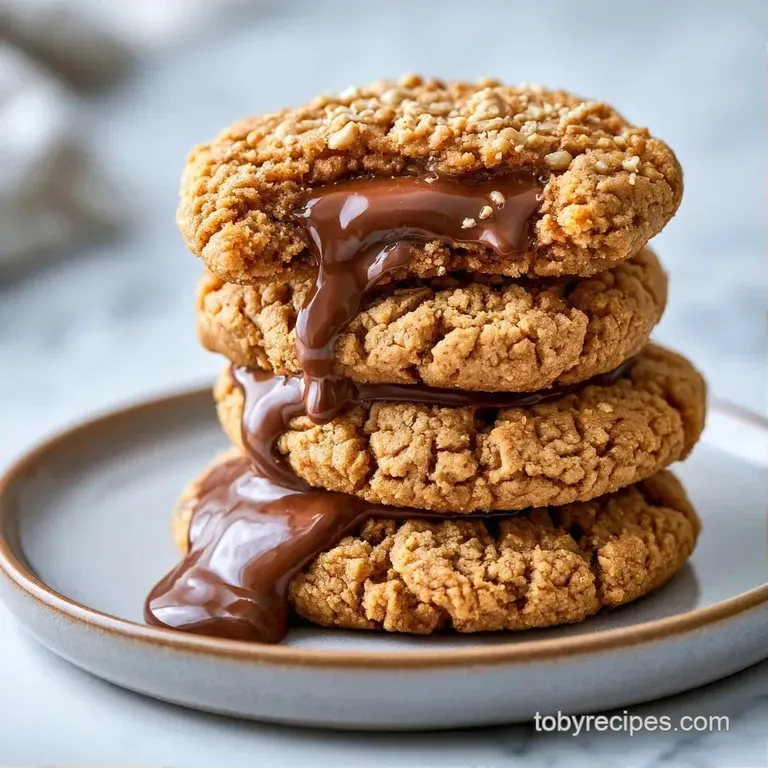
Preparing the Oven and Pans
Preheat your oven to 350°F (175°C). Line your baking sheets with parchment paper so nothing sticks.
Creaming the Fats and Sugars
Beat the softened butter, brown sugar, and peanut butter together. Do this until the mixture looks pale and fluffy, which usually takes about 2-3 minutes.
Adding the Wet Ingredients
Mix in the egg and vanilla extract. Keep going until the batter is smooth and silky.
Mixing the Drys
In a separate bowl, whisk the flour, cocoa powder, baking soda, and salt. This removes lumps from the cocoa, which can be stubborn.
Folding the Dry Ingredients
Gradually add the flour mixture to the wet ingredients on low speed. Mix only until the flour streaks disappear. Note: Overmixing makes cookies tough
Incorporating the Chips
Use a spatula to gently fold in the chocolate chips by hand.
Baking to Perfection
Scoop rounded tablespoons of dough and place them 2 inches apart. Bake for 9-11 minutes until the edges are set but the centers still look slightly underbaked.
Final Cooling
Let the cookies cool on the baking sheet for 15 minutes. They finish setting during this time, so don't rush to move them or they might break.
Troubleshooting Guide
If your cookies aren't turning out right, it usually comes down to temperature. If the butter is too melted, the cookies will flatten. If the oven is too cold, they'll spread before they set.
| Issue | Solution |
|---|---|
| Why Your Cookies Spread | This usually happens if the butter was too soft or the oven didn't reach the full 350°F before the cookies went in. You can fix this by chilling the dough for 30 minutes. |
| Why Your Texture is Dry | Overbaking is the main culprit here. Even 2 extra minutes can turn a chewy cookie into a crunchy one. Pull them out when the center still looks a bit soft. |
| Why the Taste is Bitter | Using a low quality cocoa powder or too much salt can cause this. Switching to a Dutch process cocoa helps because it's neutralized, as noted by King Arthur Baking. |
Right then, let's talk about how to adjust the recipe if you aren't making a full batch.
Ways to Mix It Up
If you want to scale this down for just a few people, you can halve the recipe. For the egg, beat one large egg in a small bowl and use about 2 tablespoons of it. Use a smaller pan and reduce the bake time by about 20%.
When scaling up for a party, don't just double the salt and baking soda. Increase those to 1.5x instead of 2x to keep the flavor balanced. Work in batches so your mixer doesn't overflow. If you're making a massive amount, you might find that fast chocolate chip cookies are a better bet for speed.
For those who want a different flavor profile, try adding a half teaspoon of cinnamon. It plays really well with the peanut butter. If you love a more intense chocolate experience, you can swap the semi sweet chips for dark chocolate chunks. For another take on this combo, check out my Peanut Butter Cookies Baked recipe recipe.
Storage and Waste Tips
Store these in an airtight container at room temperature for up to 5 days. To keep them extra soft, toss a small piece of white bread in the container. The cookies will absorb the moisture from the bread and stay bendable.
For long term storage, the freezer is your best friend. You can freeze the baked cookies for up to 3 months. Just wrap them tightly in foil and a freezer bag. To eat, let them thaw for 20 minutes or pop them in a 300°F oven for 3 minutes to get that fresh baked feel.
Don't throw away the leftover cocoa powder if you only used a bit. Mix it into your morning oatmeal or whisk it into a pinch of salt and butter to make a quick chocolate glaze for toast. If you have extra peanut butter stuck to the jar, stir the cookie batter right into the jar to save on washing another bowl.
Great Pairing Ideas
These cookies are quite rich, so they need something to cut through the fat. A cold glass of whole milk is the classic choice for a reason. The coolness balances the warmth of the melted chocolate.
If you're serving these for brunch, they pair well with a strong black coffee or an espresso. The bitterness of the coffee highlights the cocoa notes in the dough. For something a bit more fancy, try serving them with a side of fresh raspberries. The tartness of the berries cleanses the palate between bites.
Just remember to keep the cookies at room temperature when serving. If they've been in the fridge, a 5 second zap in the microwave makes the chocolate chips gooey again. Trust me on this, it's the only way to eat them.
Recipe FAQs
Is this a no-bake recipe?
No, these require baking. You must bake them at 350°F for 9 11 minutes to achieve the correct chewy texture. If you prefer a version without an oven, try our no bake cookies.
How to make these cookies chewy?
Bake for only 9 11 minutes. Pull them from the oven when the edges are set but the centers still look slightly underbaked. They will finish setting as they cool on the sheet for 15 minutes.
Are these easy for beginners to bake?
Yes, they are very straightforward. The process uses basic mixing techniques and takes about 40 minutes from start to finish.
Can I use these as energy boosting cookies to stay active?
Yes, the peanut butter provides a good energy source. These cookies combine protein and carbohydrates to create a satisfying, energizing treat.
Is it true that these cookies must be baked until the centers are firm to be safe?
No, this is a common misconception. Baking until the centers are firm often leads to overbaking, which turns a chewy cookie crunchy.
How to store these to keep them from getting hard?
Place them in an airtight container at room temperature. Adding a small piece of white bread to the container helps them absorb moisture and stay bendable for up to 5 days.
Why did my cookies spread too much on the pan?
This happens if the butter is too soft or the oven is too cold. Ensure your oven reaches 350°F before baking, or chill the dough for 30 minutes to better control the spread.
Chewy Chocolate Pb Cookies