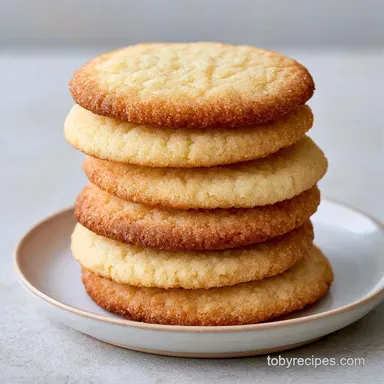
Classic Homemade Sugar Cookies: Soft and Buttery
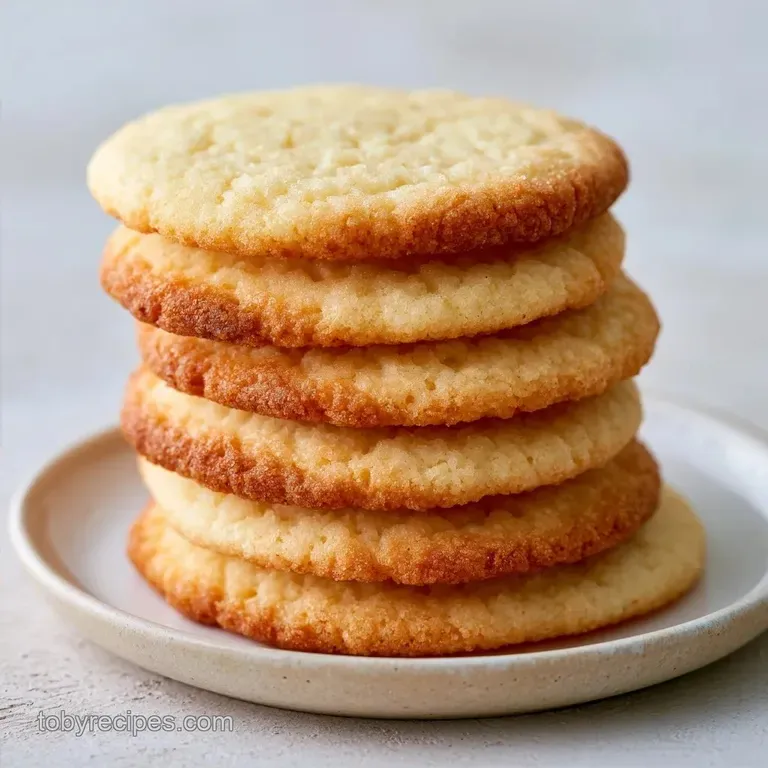
- Time:15 minutes active + 1 hour chilling = Total 1 hour 25 mins
- Flavor/Texture Hook: Velvety crumb with a subtle buttery snap
- Perfect for: Holiday baking, kids' activities, or a cozy Sunday afternoon
The smell of warm vanilla and melted butter hitting the oven air is honestly my favorite scent in the world. It takes me straight back to my grandma's kitchen, where the counter was always dusted in a thin layer of flour and there was always a cooling rack full of treats waiting for us.
Those afternoons were less about the actual eating and more about the ritual of pressing little star and heart shapes into the dough.
But here is the thing: for a long time, I struggled with them becoming either flat puddles or dry discs. I used to think I was just "bad" at it, but it turns out I was just rushing the process. Once I realized that patience is actually an ingredient in Classic Homemade Sugar Cookies, everything changed.
I'm sharing this version because it's the one that actually works every single time, regardless of how humid your kitchen is or what brand of butter you use.
Classic Homemade Sugar Cookies
Right then, let's get into it. The secret to a cookie that doesn't spread into a giant amorphous blob is all about temperature control. Most people just mix and bake, but if you want those clean, professional edges that are perfect for icing, you have to let the dough relax.
It's a small wait, but the difference in the final bite is huge.
Trust me on this: don't skip the chilling phase. When the butter is cold, it takes longer to melt in the oven, which gives the flour time to set the structure first. That's how you get a cookie that feels light and velvety rather than dense and greasy.
We're going for a texture that's soft but holds its own, making these the ideal base for any frosting you can dream up.
If you're in a rush and don't have an hour to spare, you might be tempted to look for soft sugar cookies that bake faster, but for the traditional cut out experience, this slow and steady approach is the way to go. Let's crack on with why this actually happens in the bowl.
Why Most Recipes Fail
The biggest mistake I see is overworking the dough. When you keep mixing after adding the flour, you develop too much tension in the dough, and that's why some cookies come out feeling like cardboard. You want to mix just until the white streaks disappear, then stop immediately.
- Air Pockets
- Beating the butter and sugar creates tiny air bubbles that keep the cookie from being too heavy.
- Fat Stability
- Chilling the dough prevents the butter from leaking out too quickly, which stops the spread.
- Sugar Balance
- Using a mix of granulated sugar for the dough and powdered sugar for the glaze creates two different types of sweetness.
- Flour Weight
- Using the right amount of flour ensures the cookie doesn't collapse, but too much makes it taste like raw dough.
| Goal | Method | Result | Best For |
|---|---|---|---|
| Fast Result | Scoop & Bake | Soft/Rounded | Quick Cravings |
| Classic Look | Chill & Roll | Sharp Edges | Decorating |
| Extra Chewy | Less Flour | Dense/Bendy | Texture Lovers |
| Crisp Edge | Bake 2 Mins Extra | Golden Snap | Dipping in Milk |
Component Analysis
I've spent a lot of time wondering why some ingredients are non negotiable. It's not just about taste, it's about how they interact when the heat hits them. According to King Arthur Baking, the way you measure your flour can change the entire outcome of a cookie.
| Ingredient | Science Role | Pro Secret |
|---|---|---|
| Unsalted Butter | Structure & Flavor | Must be softened, not melted, for air retention |
| Granulated Sugar | Crispness & Color | Dissolves into butter to create a stable emulsion |
| All Purpose Flour | The Backbone | Spoon and level it so the cookies don't get dry |
| Baking Powder | The Lift | Provides just enough puff without making it cakey |
Essential Pantry Items
For this recipe, we're keeping things budget friendly. You don't need fancy European butter to make these taste great, though a high fat butter does make them a bit richer. Just stick to the basics and focus on the technique.
For the Cookie Dough
- 1 cup (225g) unsalted butter, softenedWhy this? Provides the base flavor and essential fat for texture
- 1 cup (200g) granulated white sugarWhy this? Creates the classic sweet, crisp edge
- 1 large eggWhy this? Binds everything together and adds moisture
- 2 tsp (10ml) pure vanilla extractWhy this? The primary aromatic for that nostalgic smell
- 3 cups (375g) all purpose flourWhy this? Standard protein level for a sturdy but soft cookie
- 1 tsp (5g) baking powderWhy this? Gives a slight rise so they aren't flat
- ½ tsp (3g) saltWhy this? Balances the sugar so it's not cloying
For the Simple Glaze
- 1 cup (120g) powdered sugarWhy this? Dissolves instantly for a smooth finish
- 2 tbsp (30ml) milkWhy this? Thins the sugar into a pourable consistency
- ½ tsp (2.5ml) vanilla extractWhy this? Ties the glaze flavor to the cookie
| Original Ingredient | Substitute | Why It Works |
|---|---|---|
| Unsalted Butter | Salted Butter | Works fine. Note: Reduce added salt by 1/4 tsp |
| All Purpose Flour | Almond Flour | Nutty flavor. Note: Much softer, won't hold cut out shapes |
| Milk (in glaze) | Lemon Juice | Adds tang. Note: Changes flavor to a citrus glaze |
| Large Egg | Applesauce (1/4 cup) | Vegan friendly. Note: Denser texture, less rise |
Tools You'll Need
You don't need a professional kitchen to pull this off, but a few basics make it way easier. If you have a stand mixer such as a KitchenAid, use it, but a hand mixer or even a sturdy whisk and some elbow grease will work just fine.
- Electric Mixer: Essential for getting that butter and sugar truly fluffy.
- Rolling Pin: To get a consistent 1/4 inch thickness.
- Cookie Cutters: Any shape you like, but make sure they're clean.
- Parchment Paper: This is a lifesaver. Don't rely on just greasing the pan.
- Wire Cooling Rack: Prevents the bottoms from getting soggy.
Step by step Method
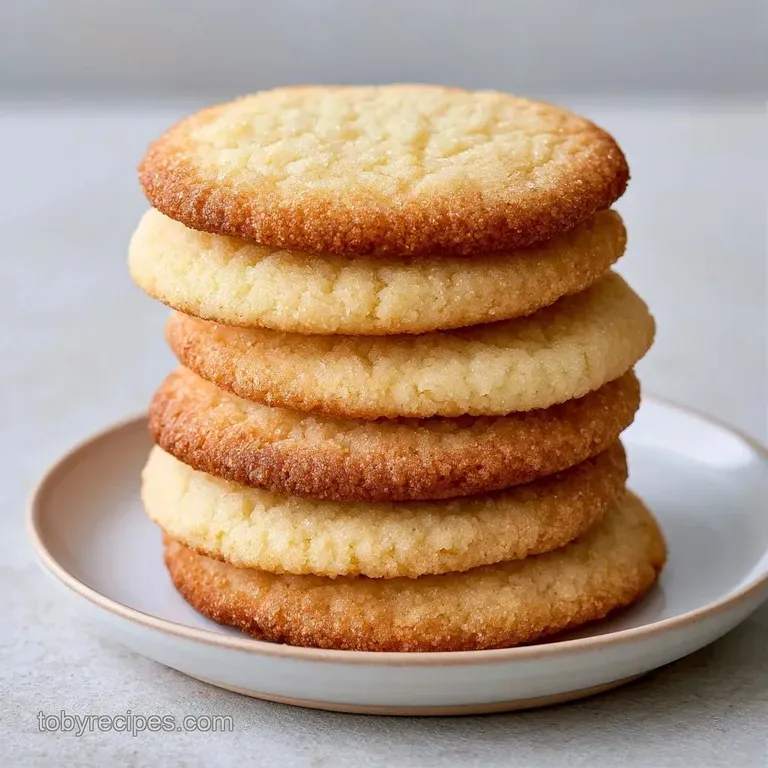
Let's get these moving. Remember, the goal is a velvety dough that doesn't fight you when you roll it out.
Creaming the Base
Beat the softened butter and granulated sugar on medium high speed. Do this for about 2-3 minutes until the mixture looks pale and fluffy. This is where you're trapping air, which is the secret to a light cookie.
Integrating Wet Ingredients
Add the egg and vanilla extract. Beat the mixture again until it is velvety and completely smooth. If it looks slightly curdled, just keep mixing for another 30 seconds.
The Dry Mix
In a separate bowl, whisk together the flour, baking powder, and salt. I like to do this separately to make sure the baking powder is evenly distributed, otherwise, you might get one cookie that's huge and another that's flat.
Combining Everything
Turn your mixer to the lowest setting. Gradually add the flour mixture and mix only until the white streaks of flour disappear. Stop the moment it looks like dough. Over mixing here is the fastest way to ruin the texture.
The Chill Step
Wrap the dough tightly in plastic wrap. Flatten it into a disc shape (this helps it chill evenly) and refrigerate for 1 hour. This is the non negotiable part of making Classic Homemade Sugar Cookies.
Cutting and Baking
Preheat your oven to 350°F (175°C). On a floured surface, roll the chilled dough to 1/4 inch thickness. Press your cutters firmly into the dough and transfer the shapes to a lined baking sheet.
The Final Bake
Bake for 8-10 minutes until the edges are barely golden brown. They should still look slightly pale in the center when you take them out; they'll firm up as they cool.
Finishing Touches
Let the cookies cool completely. Mix the powdered sugar, milk, and vanilla until smooth, then drizzle or dip your cookies into the glaze.
Chef's Note: For a super clean cut, dip your cookie cutter in flour between every single press. It stops the dough from sticking to the metal and ruins the shape.
Fixing Common Cookie Issues
Even the best of us have bad batches. If your cookies aren't behaving, it's usually a temperature or measurement issue.
Cookies Spread Too Much
This usually happens because the butter was too soft or the dough didn't chill long enough. When the fat is too warm, it melts before the flour can set.
Dough is Too Tough
If you had to fight the rolling pin or the cookies feel like hard crackers, you likely over mixed the dough. The gluten developed too much, creating a bread like structure.
Bottoms Burnt Fast
Your baking sheet might be too thin or you're using a dark colored pan that absorbs too much heat. Try lining the pan with two sheets of parchment paper for a buffer.
| Problem | Root Cause | Solution |
|---|---|---|
| Puddling | Butter too warm | Chill dough another 30 mins |
| Dry/Crumbly | Too much flour | Add 1 tsp milk to the dough |
| No Rise | Old baking powder | Test powder in hot water |
Common Mistakes Checklist
- ✓ Did I measure flour by spooning it into the cup?
- ✓ Is my butter softened but NOT melted?
- ✓ Did the dough actually spend a full hour in the fridge?
- ✓ Did I stop mixing the moment the flour disappeared?
- ✓ Did I remove them before the centers turned brown?
Fun Flavor Variations
Once you've got the hang of the Classic Homemade Sugar Cookies, you can start playing with the ingredients. I love adding a bit of zest to brighten things up for spring.
The Citrus Twist Add the zest of one lemon or orange to the sugar before creaming. It adds a bright, aromatic note that cuts through the richness of the butter.
The Almond Note Swap one teaspoon of vanilla for almond extract. This gives it a more "wedding cake" flavor that feels a bit more sophisticated.
The gluten-free Shift You can use a 1:1 gluten-free baking flour blend. However, be aware that the dough may be stickier and require an extra 15 minutes of chilling to be rollable.
The Vegan Version Use a high-quality vegan butter stick and a flax egg (1 tbsp ground flax + 3 tbsp water). The texture will be slightly denser, but it's still a great treat. If you're looking for other easy sweets, my hot chocolate fudge is another great option for a crowd.
Dough Adjustments
If you're making these for a small group or a giant party, you can't just multiply everything blindly. Baking is more like chemistry than cooking.
Scaling Down (Half Batch) Use 1/2 cup butter and 1/2 cup sugar. For the egg, crack one into a bowl, beat it, and use exactly 2 tablespoons. Reduce baking time by about 1-2 minutes since the oven load is lighter.
Scaling Up (Double Batch) Work in batches. If you crowd the oven with too many sheets, the temperature drops, and your cookies will steam instead of bake. For the salt and baking powder, only increase them to 1.5x the original amount to avoid a metallic taste.
Baking Large Quantities Lower your oven temperature to 325°F (160°C) and extend the baking time by 2-3 minutes. This ensures that when you have multiple trays in, they all brown evenly without the bottoms burning.
Cookie Logic Debunked
There are a few things people tell you about sugar cookies that just aren't true. I've tried them all so you don't have to.
Myth: Melting butter is faster and just as good. Wrong. Melted butter changes the structure completely. You lose those air pockets from creaming, and your cookies will spread into pancakes. Always use softened butter.
Myth: Adding more flour stops the spread. Not really. While it might stop the spread, it makes the cookies tough and tasteless. The real fix for spreading is chilling the dough, not adding more flour.
Myth: You must use a stand mixer. Nope. A hand mixer or even a whisk works. The key is the action of incorporating air, not the machine you use to do it.
Saving Your Cookies
Sugar cookies are great because they actually stay fresh for a while if you store them correctly. The enemy here is moisture from the air.
Storage Guidelines Store your cooled cookies in an airtight container. In the fridge, they'll stay fresh for about 5 days. In the freezer, they can last up to 3 months. If you're freezing them, put a piece of parchment paper between each cookie so they don't stick.
Reheating Tips To get that "just baked" feel, pop a cookie in the microwave for 5-8 seconds. It softens the butter and makes the vanilla aroma come back to life.
Zero Waste Ideas Don't throw away the scraps of dough left over from the cutters! Just roll them into small balls and bake them as "chef's treats." They bake faster than the cut outs, so check them at the 6 minute mark.
If you have leftover glaze, you can use it to drizzle over a slice of pound cake or some fresh berries.
Better Serving Ideas
These cookies are a blank canvas. While the glaze is a classic, you can really dress them up depending on the occasion.
For a cozy night in, serve these warm with a glass of cold milk or a cup of tea. If you're hosting a party, arrange them on a platter with a small bowl of extra glaze for dipping.
If you want to go all out, try filling the center of two cookies with a dollop of lemon curd or raspberry jam and pressing them together to make "sugar sandwiches." It turns a simple cookie into a fancy dessert. Just make sure the cookies are completely cool before filling, or the jam will just slide right off.
Recipe FAQs
How do you make sugar cookies from scratch?
Beat softened butter and sugar until fluffy, then incorporate the egg and vanilla. Mix in the dry ingredients, chill the dough for one hour, and bake at 350°F for 8-10 minutes.
What is a good recipe for sugar cookies that will be decorated?
Use a chilled, rolled dough. Rolling to 1/4 inch thickness on a floured surface ensures the cut-out shapes hold their detail after baking.
How do I make a dozen sugar cookies?
Divide all ingredient measurements by three. Since the original recipe makes 36 cookies, reducing the components proportionally will yield exactly 12.
What's the best way to make thin, crispy sugar cookies?
Roll the dough thinner than 1/4 inch. Baking thinner discs for the full 10 minutes allows more moisture to evaporate, creating a crispier snap.
Is it true I can skip chilling the dough to save time?
No, this is a common misconception. Chilling the dough for one hour is essential to prevent the butter from melting too quickly, which stops the cookies from flattening.
How do I prevent the cookies from spreading too much?
Keep the dough cold and the oven preheated to exactly 350°F. If you mastered the sensory doneness cues here, apply them to our air fryer chicken nuggets for a perfect golden brown finish.
How do I make a simple glaze for these cookies?
Whisk powdered sugar, milk, and vanilla extract until smooth. Apply this mixture to the cookies only after they have cooled completely to prevent the glaze from melting.
Classic Homemade Sugar Cookies