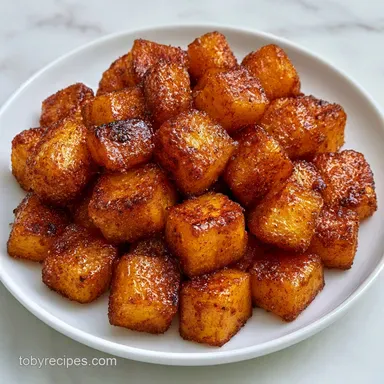
Oven Roasted Butternut Squash: Brown Sugar & Cinnamon
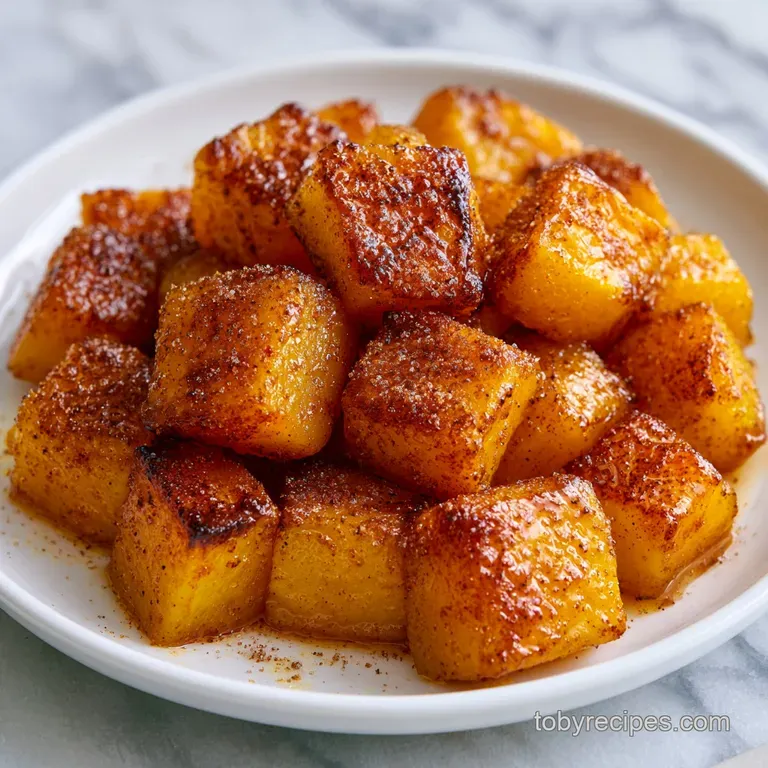
- Time: 10 min active + 45 min roasting = Total 55 mins
- Flavor/Texture Hook: Mahogany colored edges with a buttery, cinnamon spiced finish
- Perfect for: Holiday side dishes, budget-friendly meal prep, or a cozy winter dinner
That first smell when you open the oven door is what gets me every time. It's a heavy, sweet aroma of toasted cinnamon and bubbling butter that basically tells your brain "comfort food is here." I remember the first time I tried this, I just tossed the squash in a pan and hoped for the best.
It came out pale, soggy, and honestly, pretty boring. I realized I was treating it like a boiled potato instead of a vegetable that wants to caramelize.
The real shift happened when I started treating the squash like a candy. By using a bit of brown sugar and making sure the cubes were bone dry, I stopped getting that "steamed" texture and started getting those gorgeous, sticky, dark edges.
It's a simple change, but it transforms the dish from a bland side into something people actually fight over at the table.
You can expect a side that is rich and comforting but doesn't cost a fortune to make. Since we're using basic pantry staples, it's a great way to feel fancy without spending your whole paycheck. Whether you're serving this for a big crowd or just as a treat for yourself, the combination of the warmth from the cinnamon and the slight zing of cayenne makes this oven roasted butternut squash brown sugar dish a winner.
Why This Dish Works
Right then, let's talk about why this actually tastes good. It's not just about the sugar, it's about how the heat interacts with the ingredients.
- The Moisture Gap: Patting the squash dry prevents steam from building up in the pan, which lets the edges brown instead of boiling.
- Sugar Caramelization: Brown sugar melts into a syrup that clings to the squash, creating a sticky, mahogany crust.
- The Fat Blend: Using both oil and butter gives you the high smoke point of avocado oil and the rich, nutty flavor of butter.
- Heat Balance: The tiny pinch of cayenne doesn't make it spicy, but it cuts through the heavy sweetness so it's not cloying.
Since you're choosing between methods, here is how the oven compares to the stovetop for this specific vibe.
| Method | Time | Texture | Best For |
|---|---|---|---|
| Oven | 55 mins | Caramelized edges, velvety center | Big batches, holiday sides |
| Stovetop | 20 mins | Soft, glazed, more uniform | Quick weeknight sides |
Component Breakdown
I like to think of the ingredients as a team. Each one has a specific job to do to make sure the squash doesn't just turn into mush.
| Ingredient | Science Role | Pro Secret |
|---|---|---|
| Brown Sugar | Glazing Agent | Use light brown for a milder, buttery taste |
| Avocado Oil | Heat Stability | Prevents the butter from burning at 400°F |
| Cinnamon | Aroma Base | Toast your cinnamon in a pan first for extra depth |
| Cayenne | Flavor Contrast | Just a pinch stops the dish from tasting like dessert |
The Essential Ingredients
For this, we're keeping it budget smart. You don't need expensive maple syrups or fancy oils to get a result that tastes high end. Trust me, the brown sugar does all the heavy lifting here.
- 2 lbs butternut squash, peeled and cubed into 1 inch pieces Why this? Uniform size ensures every piece cooks at the same rate
- 1 tbsp avocado oil Why this? Stable at high temps, so it won't smoke in your oven
- 2 tbsp unsalted butter, melted Why this? Adds that classic, rich flavor that oil alone lacks
- 2 tbsp light brown sugar, packed Why this? Creates the sticky, caramelized crust
- 1 tsp ground cinnamon Why this? Pairs naturally with the sweetness of the squash
- 1/4 tsp fine sea salt Why this? Brings out the natural sugars in the vegetable
- 1/8 tsp cayenne pepper Why this? Adds a subtle warmth that balances the sugar
If you're missing something, don't panic. You can swap things out without ruining the vibe.
| Original Ingredient | Substitute | Why It Works |
|---|---|---|
| Avocado Oil | Canola Oil | Neutral flavor and high smoke point. Note: Similar results |
| Unsalted Butter | Coconut Oil | Similar fat content. Note: Adds a slight tropical coconut hint |
| Brown Sugar | Maple Syrup | Liquid sweetener. Note: Makes the glaze thinner and more fluid |
| Butternut Squash | Kabocha Squash | Similar texture and sweetness. Note: Skin is edible if you prefer it |
Now, before you start, make sure your oven is fully preheated. Putting veg into a lukewarm oven is the fastest way to get soggy squash.
Step by step Roasting
Let's crack on with the actual cooking. The key here is the "single layer" rule. If you crowd the pan, you're just steaming the vegetables, and we want that roasted, charred look.
- Preheat your oven to 400°F (200°C). Note: High heat is what creates those brown edges
- Peel the squash and cut it into uniform 1 inch cubes. Pat the cubes completely dry with a paper towel. Note: Water is the enemy of caramelization
- In a large mixing bowl, whisk together the melted butter, brown sugar, cinnamon, salt, and cayenne.
- Toss the dried squash cubes into the bowl. Fold gently with a spatula until every piece is evenly coated in the glaze.
- Spread the cubes in a single layer on a parchment lined baking sheet. Leave at least an inch of space between pieces.
- Roast for 20-25 minutes until the edges start to look golden.
- Flip the pieces with a spatula to ensure even browning.
- Return to the oven for another 15-20 minutes until the edges are mahogany colored and the centers are velvety and tender.
According to roasting guides on Serious Eats, maintaining enough space between food items on a tray is the most important factor for achieving a proper roast rather than a steam.
Fix Common Roasting Issues
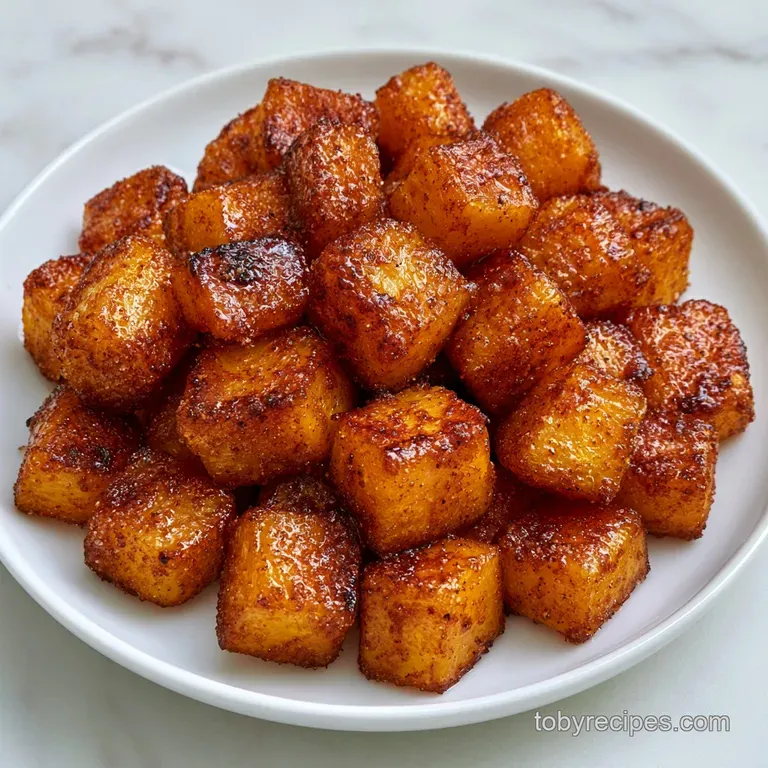
The most common mistake I see is people pulling the squash out too early. It should look almost "too dark" on the edges. That's where all the flavor lives.
Troubleshooting Common Issues
| Issue | Solution |
|---|---|
| Why Your Squash is Mushy | This usually happens if you didn't dry the squash or if you crowded the pan. When the pieces touch, they release moisture that stays trapped, boiling the squash instead of roasting it. |
| Why the Sugar Burnt | If your oven runs hot, the sugar can go from mahogany to black quickly. If you notice the edges darkening too fast, slide a baking sheet on the rack above it to shield the squash from the direct heat. |
| Why it Tastes Bland | You might have skipped the salt or the cayenne. The sugar makes it taste sweet, but the salt and heat are what make it taste "savory." |
Common Mistakes Checklist:
- ✓ Did I pat the squash completely dry?
- ✓ Are the cubes all roughly the same size?
- ✓ Is there space between each piece on the tray?
- ✓ Did I flip them halfway through?
- ✓ Did I wait for that mahogany color?
Adjusting the Batch Size
If you're cooking for a crowd or just for yourself, you can't always just double the numbers. Some things don't scale linearly.
Scaling Down (½ Batch): Use a smaller baking sheet so the oil doesn't just spread and disappear. You can reduce the roasting time by about 20% because the pan heats up faster with less mass, but still rely on the visual cue of the brown edges.
Scaling Up (2x-4x Batch): This is where people mess up. Do NOT just put more squash on one tray. Use multiple baking sheets and rotate them between the top and bottom racks halfway through. For the spices and salt, only increase them to 1.5x first, then taste and adjust.
Liquids can be reduced by about 10% to avoid a "soup" on the pan.
If you're roasting a massive amount for a party, consider using a convection setting if your oven has one. It moves the air around and helps everything brown evenly without as many flips.
Common Squash Misconceptions
There's a lot of outdated advice out there. Let's clear a few things up.
Myth: You need to boil squash before roasting. Absolutely not. Boiling adds moisture, and as we've established, moisture is the enemy of that sticky brown sugar crust. Raw to roast is the only way to go.
Myth: Brown sugar burns instantly at 400°F. It can if there's no fat. The avocado oil and butter act as a buffer, protecting the sugar and allowing it to caramelize slowly. Just keep an eye on it during the last 10 minutes.
Myth: You have to peel every bit of the skin. While I recommend peeling for this specific recipe to get that velvety texture, some people like the skin. If you leave it on, just know it takes a few minutes longer to soften.
Storage and Scraps
Don't throw away the peelings! Those are packed with nutrients. You can toss the skins in a pot with some onion and celery to make a basic vegetable stock.
Fridge Storage: Keep the roasted squash in an airtight container for up to 4 days. It holds up surprisingly well and still tastes great cold in a salad.
Freezing Tips: You can freeze these cubes for up to 3 months. Spread them out on a tray to freeze individually first, then bag them. This stops them from turning into one giant orange brick.
Mastering the Reheat: Avoid the microwave if you can, as it makes them mushy. Throw them back in the oven at 350°F (175°C) for about 10 minutes or toss them in an air fryer for 3-5 minutes to bring back that slight crispiness.
Best Pairing Ideas
Since this is quite sweet, you want to pair it with something salty, acidic, or savory to balance the plate.
I love serving this alongside a Roasted Garlic Dip for an extra punch of flavor. The garlic creaminess cuts right through the cinnamon sugar.
If you're doing a full holiday spread, these go great with a roast chicken or some pork tenderloin. If you want another roasted vegetable to round out the meal, these pair well with Cheesy Zucchini Tots.
Decision Shortcut for Serving:
- If you want a healthy lunch → Toss these into a bowl of kale and quinoa.
- If you want a fancy dinner → Serve as a side to roasted meats with a dollop of goat cheese.
- If you want a quick snack → Air fry for 2 minutes and serve with a side of Greek yogurt.
Right then, that's it! This oven roasted butternut squash brown sugar dish is all about patience and heat. Just remember to dry those cubes, give them space on the tray, and wait for that deep mahogany color. You've got this!
Recipe FAQs
How best to roast butternut squash?
Cut into uniform 1 inch cubes and pat them completely dry. Toss the pieces in a brown sugar glaze and roast in a single layer at 400°F to ensure they caramelize rather than steam.
What seasonings are good on butternut squash?
A combination of light brown sugar, cinnamon, salt, and cayenne pepper. The sugar and cinnamon create a warm sweetness, while the cayenne adds a subtle heat to balance the butter.
How long to put butternut squash in the oven at 400 degrees?
Roast for 35 to 45 minutes total. Bake for 20 25 minutes, flip the pieces with a spatula, and return them to the oven for another 15 20 minutes.
Do you need to peel butternut squash before you roast it?
Yes, peel the squash first. Removing the skin ensures the cubes cook through evenly and achieve a velvety interior.
Why is my roasted squash coming out soggy instead of crispy?
You likely crowded the pan or didn't dry the cubes. When pieces touch, they release moisture that boils the squash; leave at least an inch of space between pieces for better results.
Can I use a darker baking sheet for better results?
Yes, but use parchment paper. Dark sheets absorb more heat, and the parchment prevents the brown sugar from sticking or scorching.
What is the best way to season a savory, non-sweet butternut squash?
Omit the brown sugar and cinnamon. Focus on the salt and cayenne pepper for a spicy, savory profile. If you prefer savory roasted sides, you might also enjoy our low carb taco casserole for a similarly bold meal.
Roasted Butternut Squash Brown Sugar