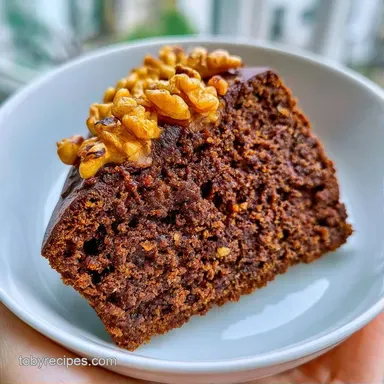
Moist Coffee and Walnut Cake
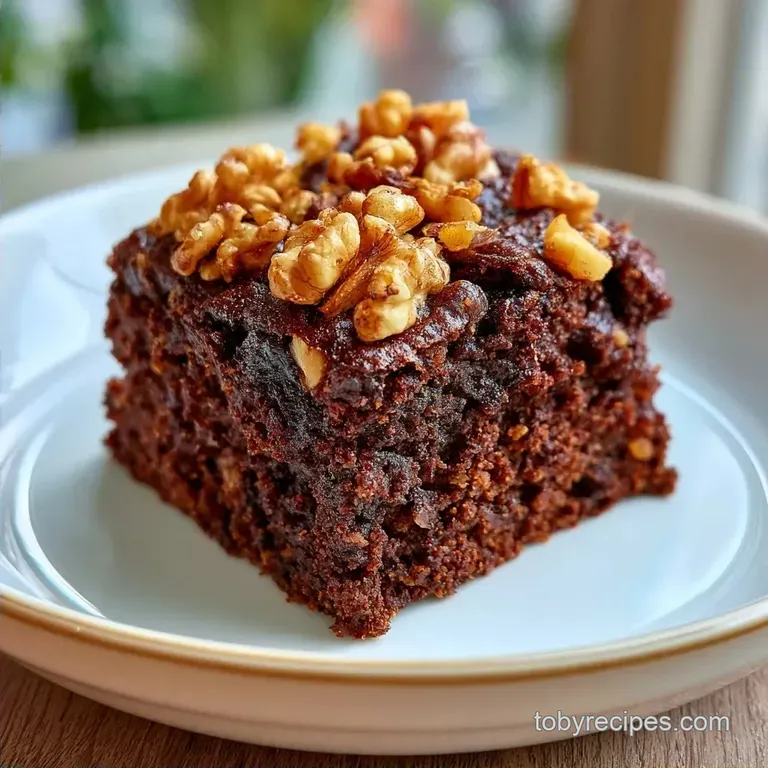
- Time: 15 min active + 30 min bake
- Flavor/Texture Hook: Bitter espresso notes with a rich, nutty crunch
- Perfect for: Afternoon tea or a cozy weekend treat
- Making a Moist Coffee and Walnut Cake
- The Trick for a Better Sponge
- Essential Tools for This Bake
- Role of Each Ingredient
- Quick Timing and Details
- Step by Step Baking
- Fixing Common Baking Issues
- Adjusting the Recipe Size
- Storage and Waste Tips
- Storage and Waste Tips
- Flavor Twists to Try
- Flavor Twists to Try
- Best Ways to Serve
- Best Ways to Serve
- Recipe FAQs
- 📝 Recipe Card
That sharp, bitter smell of strong espresso hitting the kitchen air is my favorite part of this bake. It wakes up the whole house before the oven even finishes heating. There is something about the pairing of coffee and earthy walnuts that just feels right, especially when it's raining outside.
My first attempt at this was a total disaster. I tried to be too fancy and ended up with a dense, bitter brick that tasted more like burnt beans than a dessert. I realized I was adding the coffee granules directly into the flour, which left these little bitter pockets of un dissolved powder throughout the sponge.
Once I started dissolving the coffee in a tiny bit of hot water first, everything changed. The crumb became light and the flavor spread evenly. This version is a reliable, homemade Coffee and Walnut Cake that actually tastes like a classic British tea room treat without requiring professional tools.
Making a Moist Coffee and Walnut Cake
The Trick for a Better Sponge
Butter and Oil Mix: Butter gives that classic flavor, but oil stays liquid at room temperature. This combination ensures the cake doesn't turn into a dry sponge the moment it cools down.
Dissolved Coffee: Mixing granules with hot water before adding them to the batter prevents bitter clumps. It ensures the espresso flavor is smooth and consistent in every single bite.
Walnut Folding: Adding the nuts at the very end prevents them from sinking to the bottom. Folding gently keeps the air in the batter so the cake actually rises.
Essential Tools for This Bake
No special equipment is necessary here. A basic electric hand mixer works great for whipping the butter and sugar until fluffy. If you don't have one, a whisk and a bit of muscle will do the trick, although it takes a few extra minutes.
Use two 8 inch round tins for the pans. Lining them with parchment paper is essential; I've had far too many cakes stick to the bottom by relying solely on grease, and trust me, it's not enough. You will also need a rubber spatula to fold in the flour and nuts, as a metal spoon can easily deflate the batter.
Role of Each Ingredient
The flour and baking powder do the heavy lifting here. I use self raising flour for a consistent lift, but the extra half teaspoon of baking powder provides that extra bit of insurance to keep the sponge airy.
Caster sugar is better than granulated because it dissolves faster into the butter, creating a smoother batter. For the fats, the neutral oil (like vegetable or canola) is there for texture, while the unsalted butter provides the richness.
The eggs act as the binder. Using room temperature eggs is a big deal here. Cold eggs can cause the creamed butter to seize up, which leads to a curdled batter that won't rise properly. The walnuts provide a structural crunch that balances the soft crumb.
Quick Timing and Details
Before we get into the mixing, here is the breakdown of the process. This recipe is designed to be a quick win for people who want a high-quality result without spending all day in the kitchen.
| Metric | Detail |
|---|---|
| Prep Time | 15 minutes |
| Bake Time | 30 minutes |
| Total Time | 75 minutes |
| Yield | 14 slices |
| Oven Temp | 350°F (175°C) |
Since I wanted to see if shortcuts actually work, I compared a few methods. Using instant coffee is much faster than brewing a concentrated espresso shot, and in this specific sponge, the difference in taste is negligible.
| Component | Fresh Method | Shortcut Method | Trade off |
|---|---|---|---|
| Coffee | Brewed Espresso | Instant Granules | Instant is faster; Espresso is slightly more acidic |
| Walnuts | Toasted Fresh | Pre toasted | Toasting fresh adds 5 mins but boosts aroma |
| Butter | Hand creamed | Electric Mixer | Mixer is faster and gets more air in |
Step by step Baking
Preparing the Base
Preheat the oven to 350°F (175°C). Grease two 8 inch round cake pans and line the bottoms with parchment paper. Using an electric mixer, cream together the softened butter, neutral oil, and caster sugar. Beat them for about 3 minutes until the mixture looks pale and fluffy.
Beat in the eggs one at a time. Make sure each egg is fully incorporated before adding the next. If the mixture looks like it's starting to split, add a tablespoon of your flour to bring it back together.
Folding the Texture
Sift the self raising flour and baking powder directly into the wet ingredients. In a small cup, mix the instant coffee granules with hot water until they are completely dissolved. Fold this coffee liquid and the vanilla extract into the batter using a rubber spatula.
Add the finely chopped walnuts. Fold them in gently until just combined. Stop the moment you see no more streaks of flour. If you over mix now, the gluten develops too much and the cake will be tough.
Baking to Perfection
Divide the batter evenly between the two pans. Bake for 30 minutes until a toothpick inserted in the center comes out clean. The tops should be golden brown and spring back when lightly touched.
Let them cool in the pans for 10 minutes before flipping them onto a wire rack.
Assembling the Layers
Beat together the softened butter and powdered sugar. Stir in the dissolved coffee and heavy cream until the frosting is smooth and velvety. Spread a thick layer of buttercream on one cooled cake layer, top with the second layer, and frost the top and sides. Garnish with crushed walnuts for a bit of texture.
Fixing Common Baking Issues
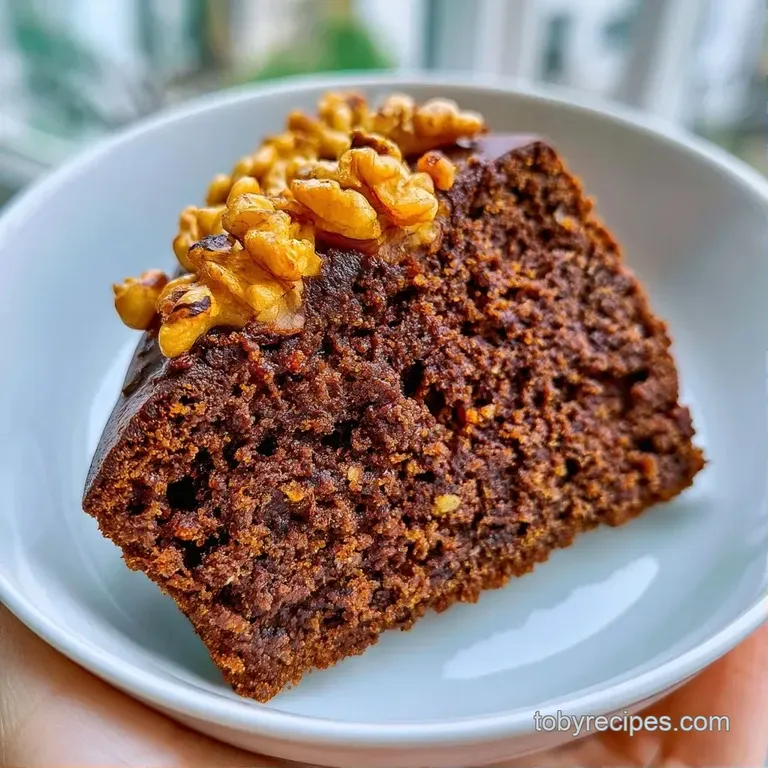
Baking a Coffee and Walnut Cake can sometimes go sideways, usually because of temperature or mixing. The most common issue is a batter that looks like cottage cheese, which happens when the eggs are too cold.
Stopping Batter Curdling
If your batter curdles, it means the fat and water have separated. You can fix this by whisking in a tablespoon of flour or popping the bowl over a pot of simmering water for 30 seconds to warm it up.
Preventing a Sunk Center
A cake that sinks in the middle usually means the oven door was opened too early. The sudden drop in temperature collapses the air bubbles before the cake structure is set. Keep the door shut until at least 25 minutes have passed.
Fixing Dry Crumbs
Dry cake often comes from over baking. Even five extra minutes can dry out the sponge. Start checking the cake at the 25 minute mark to ensure you don't overdo it.
| Problem | Fix |
|---|---|
| Curdled Batter | Add 1 tbsp flour or warm the bowl slightly |
| Sunk Center | Keep oven door closed until 25 mins in |
| Dry Sponge | Check doneness 5 mins early |
| Dense Texture | Sift flour twice and fold gently |
Adjusting the Recipe Size
If you want to make a smaller version, you can halve the ingredients. To handle the "half egg" problem, crack one egg into a bowl, beat it, and use half of the liquid by weight. Use 6 inch pans and reduce the baking time by about 20%.
For a larger batch, I recommend working in two separate bowls rather than one giant one. Most home mixers can't handle a double batch of this batter without splashing. Keep the salt and baking powder at 1.5x instead of 2x to prevent a metallic aftertaste.
If baking in a larger, deeper pan, lower the oven temp to 325°F and extend the time to ensure the center cooks without burning the edges.
Storage and Waste Tips
Storage and Waste Tips
The oil ensures this cake stays moist, though an airtight container is still recommended for storage. It lasts 2 days on the counter, but I prefer chilling it for 5 days to keep the buttercream stable. If eating a cold slice, let it sit at room temperature for 20 minutes so the butter can soften.
To freeze, wrap individual slices in parchment paper and then foil. They will last 3 months. Simply thaw them in the refrigerator overnight.
To minimize waste, save the walnut shells if you are shelling your own. They aren't for the cake, but they make excellent natural mulch for garden soil. Any remaining buttercream can be frozen in small dollops on a tray before being transferred to a bag. Thaw a single dollop to top a piece of toast for a quick snack.
Flavor Twists to Try
Flavor Twists to Try
If you want to change the profile, you can swap the walnuts for pecans or hazelnuts. Hazelnuts give it a more European, praline like feel. For those who like a bit of a kick, add a pinch of cinnamon or nutmeg to the flour.
If you're looking for something fruitier, try my Coffee Cake for 12 recipe which uses a similar base but adds a bright pop of berry. You can also replace the vanilla extract with almond extract for a more traditional wedding cake flavor.
For a vegan version, use a plant based butter and a flax egg substitute (1 tbsp ground flaxseed + 3 tbsp water per egg). Note that the rise will be slightly lower and the texture will be denser, but the coffee and walnut flavors still shine through.
Best Ways to Serve
Best Ways to Serve
Since this cake is perfect for afternoon tea, a pot of English Breakfast or Earl Grey is the ideal accompaniment, as the tannins help balance the rich buttercream. If you're enjoying it at brunch, a chilled glass of milk offers a refreshing contrast to the deep coffee notes.
For those who prefer a bit more texture on top, my Cinnamon Streusel Coffee Cake is a great source of inspiration for a crumbly topping. Personally, I enjoy serving this cake with a dollop of unsweetened whipped cream to offset the sweetness of the frosting.
You are now ready to start baking. Whether you are preparing this for a celebration or just a casual Tuesday, this Coffee and Walnut Cake is always a success. Just remember to dissolve your coffee first and keep the oven door closed, and you'll have a truly wonderful treat.
Recipe FAQs
What filling works best for a coffee and walnut cake?
Stick with the coffee buttercream. It complements the toasted walnut flavor and maintains a consistent taste throughout the dessert.
Should this cake be refrigerated?
Yes, keep it chilled. The butter and heavy cream in the frosting stay stable and fresh longer when kept cold.
How to prepare a coffee flavored cake using a mix?
Substitute a portion of the water for strong brewed coffee. Stir in chopped walnuts before baking for an easy version. For another quick shortcut, try our cake mix coffee cake.
Is it true you need a specialized coffee cake pan for this recipe?
Not true. Standard 8 inch round cake pans are ideal for creating the layers required for this specific recipe.
Why do the walnuts often sink to the bottom of the batter?
Fold the walnuts in gently at the very end. Over mixing the batter reduces its density, which allows the heavy nuts to drop during baking.
Coffee And Walnut Cake