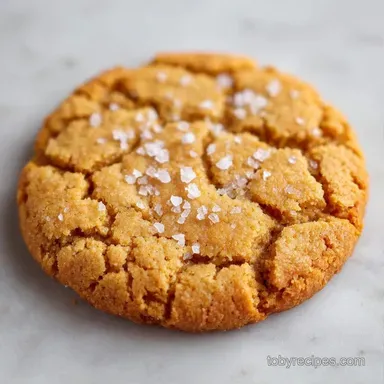
Sea Salt Butter Cookies: Nutty and Crisp
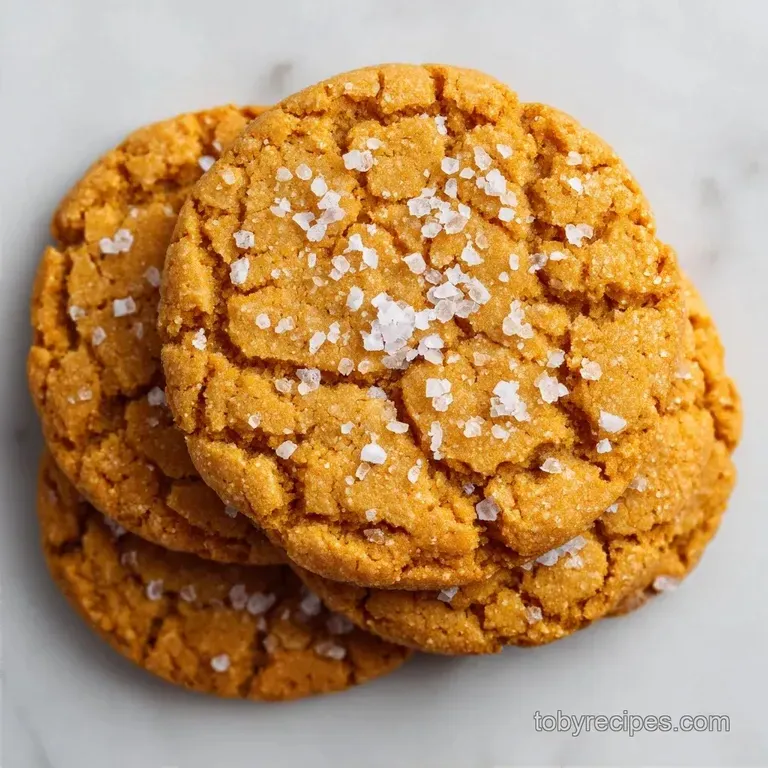
- Time:15 minutes active + 2 hours chilling
- Flavor/Texture Hook: Nutty, toasted butter with a shatter crisp edge and soft center
- Perfect for: Cozy weekend baking or a high impact gift for foodies
- Making the Best Sea Salt Butter Cookies
- Key Techniques Explained
- Recipe Specs
- Ingredients
- Equipment Needed
- The Step-by-Step
- Fixing Common Glitches
- Troubleshooting Common Issues
- Swaps and Twists
- Adjusting the Batch Size
- Busting Baking Myths
- Storage and Scraps
- Perfect Pairings
- Recipe FAQs
- 📝 Recipe Card
Making the Best Sea Salt Butter Cookies
That sound is the first thing you'll notice. It starts as a gentle sizzle, then turns into a frantic foaming, and finally, a rhythmic crackle. When the smell of toasted hazelnuts fills your kitchen, you know you've hit the sweet spot.
There is something almost hypnotic about watching butter transform from a pale yellow block into a bubbling, mahogany liquid.
I remember the first time I tried this. I got distracted by a phone call and nearly turned my butter into charcoal. I learned the hard way that the transition from "perfectly browned" to "burnt" happens in about ten seconds. Once I figured out the timing, these became my go to treat.
They aren't just sweet; they have this sophisticated saltiness that stops them from feeling like a sugar bomb.
If you've ever had cookies that tasted "flat," this is the fix. By browning the butter, we're removing water and toasting the milk solids. When you pair that with a generous sprinkle of flaky salt on top, you get a flavor profile that tastes like it came from a high end bakery, but you only need a few basic pantry staples to pull it off.
These Sea Salt Butter Cookies are all about that contrast between the rich, caramelized fat and the bright, clean hit of salt.
Key Techniques Explained
The Browning Process: We cook the butter past the melting point until the water evaporates and the milk solids toast. This creates those brown bits that give the cookie a nutty, toasted flavor.
The Sugar Emulsion: Beating the sugars into the browned butter creates a stable structure. This prevents the cookies from spreading too thin and keeps the center velvety.
The Cold Rest: Chilling the scooped dough balls for 2 hours solidifies the fats. This ensures the edges set before the center melts, giving you that specific "crispy edge, soft middle" vibe.
The Salt Timing: Adding flaky salt immediately after baking allows it to adhere to the warm surface. If you wait until they cool, the salt just rolls off.
| Method | Time | Texture | Best For |
|---|---|---|---|
| Standard Butter | 15 mins | Soft, Cakey | Quick snacks |
| Brown Butter | 30 mins | Nutty, Chewy | Gourmet treats |
| Cold Pressed | 20 mins | Dense, Sandy | Shortbread style |
Nutty Base Secrets
To get the most flavor, use a heavy bottomed pan. Thin pans create "hot spots" that burn the milk solids before the rest of the butter is toasted.
Salt Balance Tips
Don't use table salt for the topping. Table salt is too fine and tastes purely "salty." Flaky sea salt provides a crunch and a more complex, mineral taste that cuts through the richness of the butter.
Recipe Specs
The goal here is a cookie that feels substantial. We aren't looking for a thin wafer, nor a fluffy cake. This is a dense, buttery biscuit that holds its shape but gives way easily when you bite into it.
For the best results, make sure your egg is truly at room temperature. If you drop a cold egg into your warm browned butter and sugar mixture, the fat can seize up, leaving you with a lumpy batter. Just pop the egg in a bowl of warm water for 5 minutes if you forgot to take it out of the fridge.
According to King Arthur Baking, the protein content in your flour affects the spread. Using all purpose flour provides the right balance of structure and tenderness for this specific recipe.
| Ingredient | Science Role | Pro Secret |
|---|---|---|
| Unsalted Butter | Fat & Flavor | Brown it until it smells like hazelnuts |
| Brown Sugar | Moisture & Chew | Packed tight for more molasses flavor |
| Baking Soda | Lift & Browning | Reacts with brown sugar for a golden hue |
| Flaky Salt | Contrast | Apply while the cookie is still steaming |
Ingredients
- 1 cup (225g) unsalted butter, cubed Why this? Cubing helps it melt evenly and brown faster
- 3/4 cup (150g) packed light brown sugar Why this? Adds moisture and a hint of caramel
- 1/2 cup (100g) granulated sugar Why this? Creates those crisp, shattered edges
- 1 large (50g) egg, room temperature Why this? Binds everything into a smooth emulsion
- 1 tsp (5ml) vanilla extract Why this? Rounds out the nutty butter notes
- 2 cups (250g) all purpose flour Why this? Provides the necessary structure
- 1 tsp (5g) baking soda Why this? Ensures a slight rise and deep color
- 1/2 tsp (3g) fine sea salt Why this? Seasons the dough from within
- 1 tbsp (10g) flaky sea salt Why this? The signature finishing touch
Substitution Guide
| Original Ingredient | Substitute | Why It Works |
|---|---|---|
| Unsalted Butter | Salted Butter | Works fine, but omit the 1/2 tsp fine salt in dough |
| Light Brown Sugar | Dark Brown Sugar | More molasses; makes the cookie chewier and darker |
| All Purpose Flour | 1:1 gluten-free Blend | Similar structure, but may be slightly more fragile |
| Large Egg | 1/4 cup Applesauce | Binder substitute. Note: Less lift and a softer texture |
Depending on your preference, you can adjust the sugar ratios. If you like a more "toffee" like taste, increase the brown sugar and decrease the white sugar. Just keep the total volume the same to avoid changing the hydration of the dough.
Equipment Needed
You don't need a professional kitchen for this, but a few specific tools make it easier. A heavy saucepan is the most important piece because it distributes heat evenly, preventing the butter from scorching.
I usually use a stand mixer such as a KitchenAid for the creaming process, but a handheld mixer works just as well. If you're doing it by hand, be prepared for a bit of a workout with the whisk to get that sugar and butter truly fluffy.
Don't forget parchment paper. These cookies have a high butter content, and if you grease the pan with butter or spray, they tend to spread more. Parchment keeps the edges contained and makes cleanup a breeze.
The step-by-step
- Place cubed butter in a heavy bottomed saucepan over medium heat. Melt and whisk constantly until the butter foams and crackles, and mahogany colored bits settle at the bottom. Remove from heat immediately once it smells like toasted hazelnuts. Note: This prevents the butter from burning.
- In a large bowl, combine the slightly cooled browned butter with brown and granulated sugars. Beat on medium high until pale and fluffy.
- Beat in the egg and vanilla extract until the batter is glossy and smooth.
- Sift in the flour, baking soda, and fine sea salt. Fold gently until no streaks of flour remain. Note: Overmixing at this stage makes the cookies tough.
- Scoop rounded tablespoons of dough onto parchment lined baking sheets.
- Refrigerate the scooped dough balls for 2 hours. Note: This is the secret to the texture.
- Preheat oven to 350°F (175°C).
- Bake for 12–15 minutes until edges are golden but centers remain slightly soft.
- Immediately upon removing from the oven, sprinkle a tiny pinch of flaky sea salt over each cookie.
- Let set on the pan for 5 minutes before transferring to a wire rack.
Fixing Common Glitches
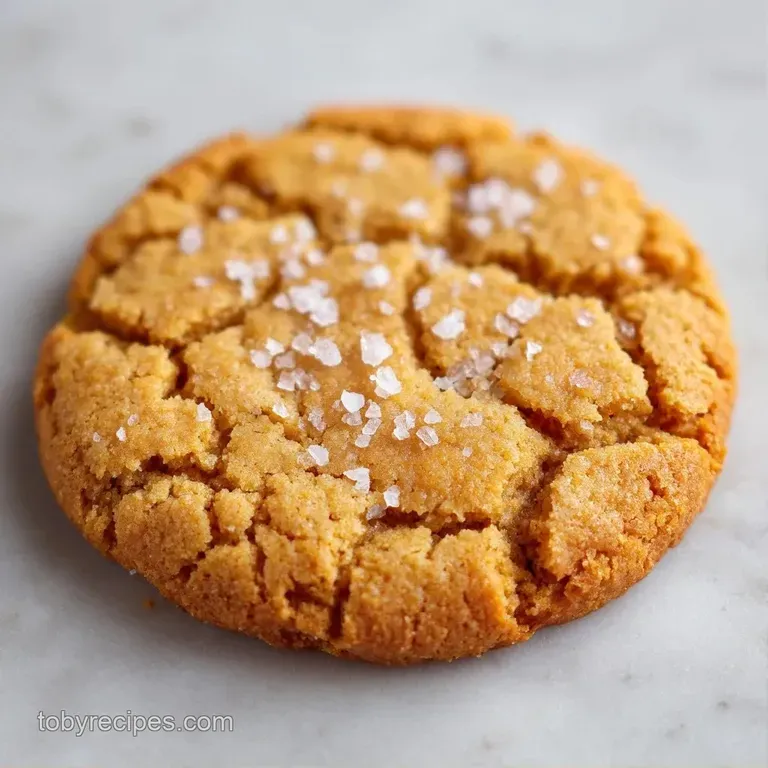
Troubleshooting Common Issues
| Issue | Solution |
|---|---|
| Why Your Cookies Spread Too Much | If your Sea Salt Butter Cookies turned into one giant pancake, it's usually a temperature issue. Either the butter was too hot when you added the sugar, or you skipped the 2 hour chill. |
| Why the Texture is Grainy | Graininess often comes from sugar that didn't dissolve. This happens if the butter and sugar aren't beaten long enough. You want that mixture to look pale and fluffy, not like wet sand. |
| Why the Butter Tastes Burnt | There is a very thin line between "browned" and "burnt." If the bits at the bottom of the pan are black instead of mahogany, the butter will taste acrid. |
Common Mistakes Checklist
- ✓ Did you wait for the butter to cool slightly before adding sugar?
- ✓ Did you scoop the dough before chilling?
- ✓ Did you avoid overmixing the flour?
- ✓ Is the salt truly "flaky" and not table salt?
- ✓ Did you let them cool on the pan for 5 minutes?
Swaps and Twists
If you want to change things up, this base is incredibly flexible. For a more indulgent version, you can fold in 1 cup of dark chocolate chunks. This turns them into something similar to my Salted Chocolate Chip Cookies, but with that deeper, toasted butter backbone.
For a citrusy hit, zest one organic lemon into the flour. The acidity of the lemon cuts through the butter and makes the cookies feel lighter, almost like a fancy shortbread. It's a great option for spring or summer gatherings.
If you prefer something even chewier, you can try my Browned Butter Cookie Recipe, which tweaks the sugar ratios to increase the "pull" of the cookie.
For a Chocolate Twist
Replace 1/4 cup of the all purpose flour with high-quality cocoa powder. Increase the brown sugar by 2 tablespoons to balance the bitterness of the cocoa.
For a gluten-free Swap
Use a high-quality 1:1 gluten-free flour blend that contains xanthan gum. The cookies will be slightly more delicate, so increase the chill time to 3 hours.
Adjusting the Batch Size
Scaling these Sea Salt Butter Cookies requires a bit of care, especially with the browning process. If you double the recipe, don't use the same small saucepan. The butter needs room to foam and bubble; if the pot is too full, the butter will boil over before it actually browns.
Scaling Down (1/2 Batch): - Use 1/2 cup butter and 1/2 an egg (beat the egg in a cup first, then measure out 25g). - Reduce bake time by about 2 minutes, as smaller batches sometimes heat up faster in the oven.
Scaling Up (2x Batch): - Work in batches for the baking. Overcrowding the oven with too many trays drops the temperature and ruins the rise. - Only increase the salt and baking soda to 1.5x instead of 2x. Too much baking soda can leave a metallic aftertaste.
| Batch Size | Butter Amount | Chill Time | Bake Temp |
|---|---|---|---|
| Single (24) | 1 cup | 2 hours | 350°F |
| Double (48) | 2 cups | 2 hours | 325°F (lower temp) |
| Half (12) | 1/2 cup | 2 hours | 350°F |
When doubling the batch, I recommend lowering the oven temp to 325°F and extending the bake time by 2-3 minutes. This ensures the larger volume of cookies bakes evenly without the edges burning before the centers are set.
Busting Baking Myths
"Room temperature eggs are just a suggestion." Not here. If you add a cold egg to browned butter, the butter will partially solidify into tiny clumps. This ruins the emulsion and leads to an uneven bake. Always warm your eggs.
"You can skip the chill if you use cold butter." That doesn't work because we're using browned butter, which is liquid. You can't "start" with cold browned butter. The 2 hour chill is the only way to get the fat back to a solid state so the cookies don't spread.
"More salt makes them taste less sweet." While salt does balance sugar, too much flaky salt on top can overwhelm the nutty butter flavor. A "tiny pinch" per cookie is the limit.
Storage and Scraps
Storage Guidelines Keep these in an airtight container at room temperature for up to 5 days. If you store them in the fridge, they lose that shatter crisp edge and become more fudge like. For long term storage, freeze the baked cookies for up to 3 months.
Just thaw them for 20 minutes or pop them in a 300°F oven for 3 minutes to bring back the warmth.
Zero Waste Tips If you have a little bit of browned butter left in the pan, don't wash it away. Stir it into your morning oatmeal or drizzle it over sautéed spinach. It's essentially a concentrated flavor bomb.
If you have leftover dough that didn't make it into the first batch, keep it in the freezer. You can bake individual "emergency cookies" whenever the craving hits. Just add 1-2 minutes to the bake time since the dough is frozen solid.
Perfect Pairings
These cookies are rich, so they need something to cut through the fat. A cold glass of whole milk is the classic choice, but a tart iced tea or a strong espresso also works brilliantly. The bitterness of coffee complements the toasted notes of the brown butter.
If you're putting together a dessert platter, these are a great anchor. Pair them with some fresh raspberries or sliced Granny Smith apples. The acidity of the fruit cleanses the palate between bites of the buttery dough.
For those who love variety, I often serve these alongside my Salted Chocolate Chip Cookies. It gives guests a choice between the deep, nutty flavor of the butter cookies and the classic chocolate salt combo. Trust me, the platter disappears in minutes.
Recipe FAQs
What does adding sea salt to cookies do?
It balances the sweetness. The salt cuts through the richness of the browned butter and sugars to create a more complex, professional flavor profile.
Why is my dough too crumbly to roll?
The butter and sugar likely weren't beaten enough. Mix on medium high until the batter is pale and fluffy to ensure the sugar dissolves and properly binds the ingredients.
How do I know when these are done baking?
Check for golden edges. Remove them from the oven after 12 15 minutes when the perimeters are golden but the centers remain slightly soft.
Can I store these for later?
Yes, use an airtight container. Keep them at room temperature for up to 5 days or freeze them for up to 3 months.
Why did my cookies spread too much?
The dough was too warm. This typically happens if the butter was too hot when added to the sugar or if you skipped the required 2-hour refrigeration period.
Can I use salted butter instead of unsalted?
Yes, it works fine. Simply omit the fine sea salt from the dough to keep the flavor balanced, similar to the ratios used in our easy sugar cookie recipe.
Is it true that chilling the dough is optional?
No, this is a common misconception. Chilling for 2 hours is critical to maintain the cookie's structure and prevent them from thinning out during baking.
Sea Salt Butter Cookies