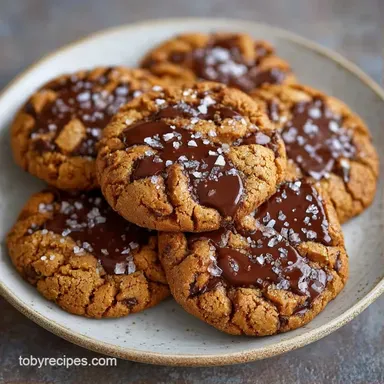
Salted Chocolate Chip Cookies: Crispy and Chewy
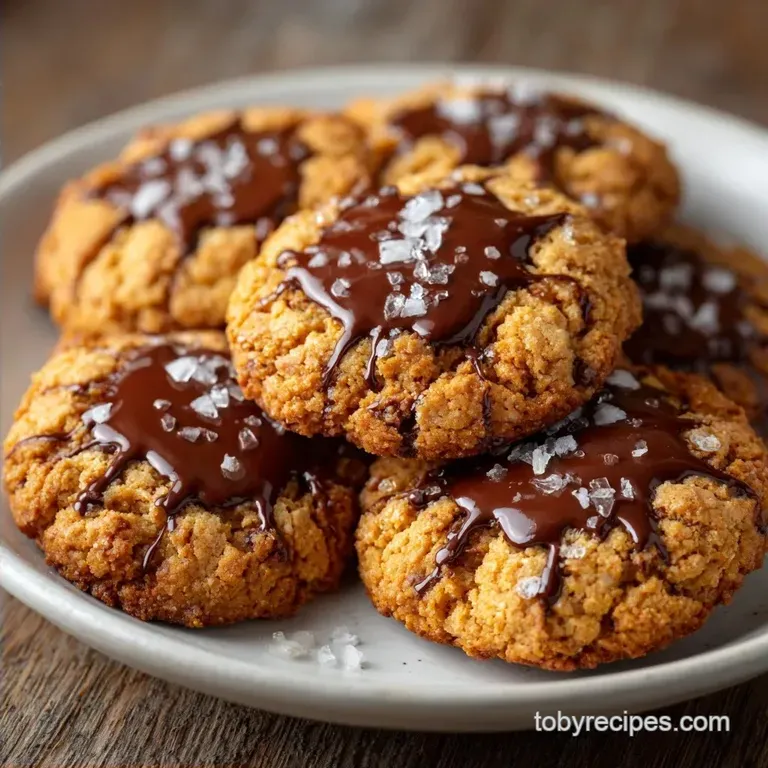
- Time: 15 min active + 8 min baking
- Flavor/Texture Hook: Nutty browned butter with a shatter crisp edge and velvety center
- Perfect for: Rainy afternoon cravings or an impressive last minute dessert
- Easy Salted Chocolate Chip Cookies Recipe
- The Secret to Better Flavor
- Component Analysis
- The Essential Ingredient List
- Necessary Baking Tools
- Step by Step Baking Process
- Fixing Common Baking Issues
- Troubleshooting Common Issues
- Fun Flavor Tweaks
- Adjusting the Batch Size
- Debunking Cookie Myths
- Storage and Zero Waste
- Plating and Serving Tips
- Recipe FAQs
- 📝 Recipe Card
The smell of butter browning in a saucepan is honestly one of the best scents in the world. It starts as a simple melt, then it foams up, and suddenly you hit that deep, toasted aroma that fills every corner of the house.
I remember making these on a gray Tuesday when everything felt a bit sluggish, and the second that first tray came out, the whole mood changed.
You're looking for that specific balance where the salt doesn't just sit on top, but actually cuts through the richness of the chocolate. These Salted Chocolate Chip Cookies aren't your standard childhood bake. They have more depth, a bit more "chew," and a professional finish that makes people ask for the recipe.
Expect a cookie that has a slight golden ring around the outside and a center that almost feels like fudge. We aren't doing a long chill time here, so you can go from craving to eating in under half an hour. Let's get into it.
Easy Salted Chocolate Chip Cookies Recipe
The magic happens when we move away from softened butter and go straight for the browned version. By cooking the butter, we evaporate the water and toast the milk solids. This creates a concentrated, nutty flavor that pairs perfectly with the sweetness of the chocolate.
Most people are scared of burning the butter, but it's actually pretty simple. You just watch for the foam to subside and the brown bits to appear at the bottom of the pan. Once you see that amber color, pull it off the heat immediately so it doesn't go from "nutty" to "burnt" in five seconds.
If you're in a rush and don't want to brown the butter, you can check out my soft chocolate chip cookies for a faster route. But for this specific version, the brown butter is what gives it that "bakery style" weight.
The Secret to Better Flavor
Why the Butter Gets Browned: Cooking the butter creates toasted milk solids. This adds a layer of savory, toasted flavor that balances the sugar.
The Cornstarch Trick: Adding a tiny bit of cornstarch softens the proteins in the flour. This prevents the cookie from becoming too tough and keeps the center velvety.
High Temp Baking: We bake at 375°F (190°C) instead of the usual 350°F. This sets the edges quickly for a crisp snap while leaving the middle underbaked and gooey.
Flaky Salt Finish: Adding salt at the end provides a sharp contrast. It hits your tongue first, which makes the chocolate taste more intense.
| Method | Time | Texture | Best For |
|---|---|---|---|
| Classic (Softened Butter) | 20-25 min | Uniformly soft | Kids' lunches |
| Brown Butter (This Recipe) | 8-10 min | Crispy edge, fudgy core | Foodies, dessert parties |
| Chilled Dough (24hr) | 10-12 min | Thick, concentrated | Gourmet gifting |
Component Analysis
| Ingredient | Science Role | Pro Secret |
|---|---|---|
| Browned Butter | Flavor & Fat | Cool slightly so it doesn't scramble the egg |
| Cornstarch | Texture Modifier | Prevents over spreading and adds tenderness |
| Brown Sugar | Moisture & Color | Use dark brown sugar for a more caramel like taste |
| Baking Soda | Lift & Browning | Reacts with brown sugar to create a chewy lift |
The Essential Ingredient List
- 1 cup (225g) unsalted butter, browned and slightly cooled Why this? Adds deep, toasted nutty notes
- 3/4 cup (150g) brown sugar, packed Why this? Provides moisture and a molasses flavor
- 1/2 cup (100g) granulated white sugar Why this? Helps the edges get crisp
- 1 large egg, room temperature Why this? Binds everything without breaking the emulsion
- 2 tsp (10ml) vanilla extract Why this? Classic aromatic depth
- 2 1/4 cups (280g) all purpose flour Why this? Standard structure for a chewy cookie
- 1 tsp (5g) cornstarch Why this? Ensures a soft, tender crumb
- 1 tsp (5g) baking soda Why this? Creates the necessary rise
- 1/2 tsp (3g) fine sea salt Why this? Enhances all other flavors
- 1 1/2 cups (250g) semi sweet chocolate chips Why this? Balances the salt and butter
- 1 tsp flaky sea salt Why this? Finishing touch for a salty pop
Substitution Table
| Original Ingredient | Substitute | Why It Works |
|---|---|---|
| Unsalted Butter | Salted Butter | Works fine, but reduce the fine sea salt by 1/4 tsp |
| Semi sweet Chips | Dark Chocolate Chunks | More intense cocoa flavor; Note: less sweet |
| All Purpose Flour | 1:1 gluten-free Blend | Maintains structure; Note: might be slightly grainier |
| Brown Sugar | Coconut Sugar | Similar moisture level; Note: adds a coconut hint |
You can find detailed guides on flour types at King Arthur Baking, which can help you decide if you want a more bread like or cake like cookie.
Necessary Baking Tools
You don't need a professional kitchen for this, but a few things make it easier. A heavy bottomed saucepan is a must for the butter, otherwise, it'll burn too quickly in the center.
I usually use a stand mixer such as KitchenAid to get the sugars and butter combined, but a hand mixer works just as well. The most important part is the parchment paper. Don't grease the pan with butter or oil, or these cookies will slide and flatten.
Finally, have a wire rack ready. If you leave them on the hot pan for too long, they'll overcook from the residual heat.
Step by step Baking Process
Step 1: The Butter Brown
Place the butter in a saucepan over medium heat. Melt and continue cooking, whisking constantly, until the butter foams and turns a deep amber color with a nutty aroma. Remove from heat immediately. Note: Don't walk away; this happens fast.
Step 2: Creaming for Aeration
In a large bowl, combine the browned butter with both brown and white sugars. Beat with a mixer until the mixture resembles pale wet sand. Add the egg and vanilla extract, beating until smooth and glossy.
Step 3: Folding the Dry Ingredients
Sift together the flour, cornstarch, baking soda, and fine salt in a separate bowl. Slowly stir the dry ingredients into the wet batter on low speed, then fold in the chocolate chips by hand until just combined. Note: Overmixing makes the cookies tough.
Step 4: The over High heat Bake
Preheat oven to 375°F (190°C). Scoop rounded tablespoons of dough (approximately 2 oz each) onto a parchment lined baking sheet, spacing them 2 inches apart. Bake for 8–10 minutes until edges are golden brown but centers remain soft.
Step 5: The Finishing Touch
Immediately after removing from the oven, sprinkle a pinch of flaky sea salt over each cookie. Let them set on the pan for 5 minutes before transferring to a wire rack. Note: The salt sticks better while the chocolate is still melted.
Chef's Tip: If you want your cookies to look like the ones in photos, take a round glass or a cookie cutter and gently press it over the hot cookie in a circular motion to "round out" the edges.
Fixing Common Baking Issues
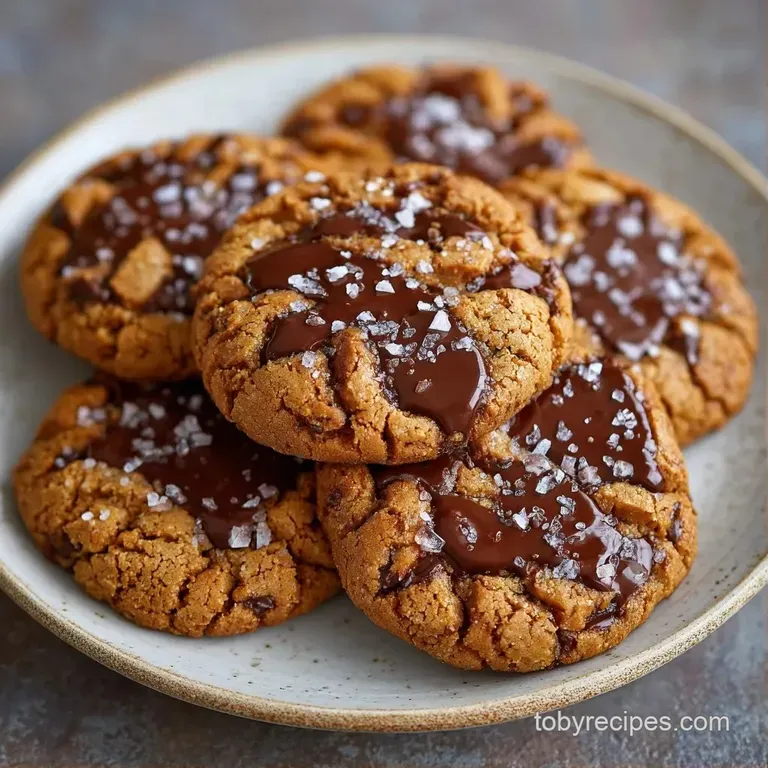
Baking is basically just a science project you get to eat. When things go wrong, it's usually a matter of temperature or measurement. If your cookies are too flat, it's often because the butter was too hot when you added the sugar, or you used too much sugar.
Troubleshooting Common Issues
| Issue | Solution |
|---|---|
| Why Your Cookies Spread Too Much | This usually happens if the browned butter wasn't cooled down enough before mixing. The heat melts the sugar instantly, causing the dough to lose its structure. |
| Why Your Centers Are Too Hard | You likely overbaked them. Cookies continue to cook on the pan after they leave the oven. If they look "done" in the middle while still in the oven, they'll be hard once they cool. |
| Why the Salt Tastes Bitter | Using table salt instead of flaky sea salt for the topping can be a mistake. Table salt is too concentrated and tastes "sharp," whereas flaky salt provides a clean, briny pop. |
Common Mistakes Checklist
- ✓ Did you brown the butter until amber, not black?
- ✓ Is the egg at room temperature?
- ✓ Did you stop mixing the moment the flour disappeared?
- ✓ Are the cookies spaced at least 2 inches apart?
- ✓ Did you pull them out while the center still looked slightly underdone?
Fun Flavor Tweaks
Once you've got the base of these Homemade Salted Chocolate Chip Cookies down, you can start playing with the ingredients. I love adding a handful of toasted pecans or walnuts for a crunch that complements the browned butter.
For a deeper chocolate profile, try using a mix of semi sweet chips and a few chunks of 70% dark chocolate. The bitterness of the dark chocolate makes the salt stand out even more.
If you're feeling fancy, a teaspoon of espresso powder in the dry ingredients doesn't make them taste like coffee, but it makes the chocolate taste "more like chocolate."
If you want something even more decadent, you could try a browned butter cookie recipe as a base for other mix ins like white chocolate and dried cranberries.
For a Nutty, Deep Flavor
Add 1/2 cup of chopped hazelnuts. Toast them in a pan for 3 minutes before folding them into the dough.
For the Perfect Sweet Salty Balance
Substitute the semi sweet chips for bittersweet chocolate and increase the flaky salt by a tiny pinch.
For a Coffee House Twist
Mix in 1 teaspoon of instant espresso powder with the flour. It adds a sophisticated bitterness.
Adjusting the Batch Size
Scaling cookies isn't always as simple as doubling the numbers. When you increase the volume, the mixing time often changes, and the heat distribution in the oven can be different.
Scaling Down (Half Batch) If you're only making 6 cookies, use half of everything. Since you can't easily use half an egg, crack one egg into a bowl, whisk it, and measure out about 2 tablespoons.
Use a smaller baking sheet and reduce the bake time by about 1-2 minutes, as smaller batches often heat up faster.
Scaling Up (Double Batch) When doubling, don't double the salt or baking soda exactly go for 1.5x instead. Too much leavening can give the cookies a metallic taste. Work in batches; don't crowd the oven, or the temperature will drop, and you'll lose those crispy edges.
If you're baking multiple trays, rotate them halfway through.
Debunking Cookie Myths
There's a lot of advice out there that doesn't actually hold up. For instance, you'll often hear that you must chill your dough for 24 hours to get the best flavor. While chilling does deepen the taste and prevent spreading, it's not mandatory for a great cookie.
This recipe uses browned butter and high heat to get that same depth and structure without the wait.
Another common myth is that "creaming" butter and sugar for 5 minutes is necessary. In this recipe, we're using melted (browned) butter, not softened butter. Over beating melted butter and sugar just incorporates too much air, which can cause the cookies to puff up and then collapse, leaving you with a weird, wrinkled texture.
Finally,, some people think that using "salted butter" is a cheat. It's not. It's just a different way of controlling salt. However, unsalted butter is preferred here because the browning process can concentrate the salt in salted butter, making it unpredictable.
Storage and Zero Waste
Storing Your Treats Keep your baked cookies in an airtight container at room temperature for up to 5 days. If you want them to stay soft, put a small slice of white bread in the container; the cookies will absorb the moisture from the bread.
Freezing Guide You can freeze the raw dough balls for up to 3 months. Just freeze them on a tray first, then toss them into a freezer bag. When you're ready to bake, just add 2 minutes to the cook time.
Baked cookies also freeze well for up to 2 months, wrapped individually in parchment.
Reheating for Freshness To get that "fresh from the oven" feel, pop a cold cookie in the oven at 300°F (150°C) for 3 minutes. It wakes up the butter and melts the chocolate again.
Zero Waste Tips Don't throw away the leftover browned butter if you made a big batch. It's a fantastic base for a savory sauce or can be stirred into mashed potatoes for a nutty twist. If you have leftover chocolate chips, chop them up and stir them into your morning oatmeal.
Plating and Serving Tips
The way you serve these changes the whole experience. For a casual vibe, stack them in a rustic ceramic bowl. For something more impressive, place them on a wooden board with a small dish of extra flaky salt on the side.
Pair these with a cold glass of milk or a bitter black coffee. The acidity of the coffee cuts through the fat of the butter, making each bite taste as fresh as the first. If you're serving them at a party, try adding a small dollop of salted caramel on top of each warm cookie for a truly decadent finish.
Recipe FAQs
How to get a chewy texture for these cookies?
Bake at 375°F for 8 10 minutes until edges are golden but centers remain soft. This prevents overbaking and ensures the middle stays tender.
How to brown butter for this recipe?
Melt butter in a saucepan over medium heat, whisking constantly until it foams and turns a deep amber color. Remove from heat immediately once you smell a nutty aroma.
Why are my cookies spreading too much?
Cool the browned butter sufficiently before mixing it with sugars. If the butter is too hot, it melts the sugar instantly and destroys the dough's structure. If you enjoyed controlling cookie spread here, the same fat ratio logic applies to our crispy sugar cookies.
Is it true that cookies should look fully done in the center before removing them from the oven?
No, this is a common misconception. Cookies continue to cook on the pan after removal; taking them out while the centers are still soft ensures they don't become hard.
How to keep cookies soft during storage?
Store in an airtight container at room temperature with a small slice of white bread. The cookies will absorb moisture from the bread to stay soft for up to 5 days.
Can I freeze the raw dough?
Yes, freeze raw dough balls for up to 3 months. Freeze them on a tray first before transferring to a bag, and add 2 minutes to the cook time when baking from frozen.
Why does the salt topping taste bitter?
Use flaky sea salt instead of table salt. Table salt is too concentrated and harsh, whereas flaky sea salt provides the clean, salty contrast needed for chocolate.
Salted Chocolate Chip Cookies